Prepare the mounting holes for the top and bottom of the stair. The top and bottom mounting holes should be parellel to ensure the stair is straight. Click here for standard connection details.
Remove the stair from the shipping container and place it on a solid, flat surface.
Attach the handrails
STEEL stairs only, alumninum stairs ship with handrails already attached
Figure 1
Check the orientation of the handrails; the welds that connect the balusters should face inward.
Figure 2
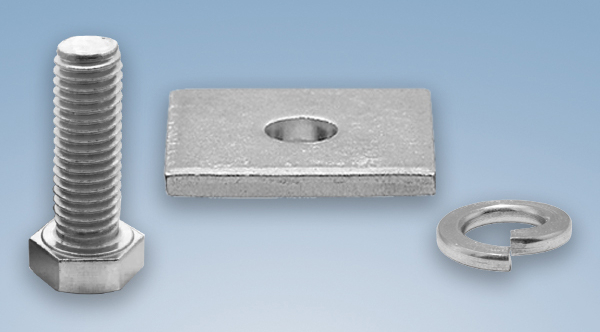
Use the supplied bolts, lock washers, and flat washers to loosely attach the handrails to the stair.
Figure 3
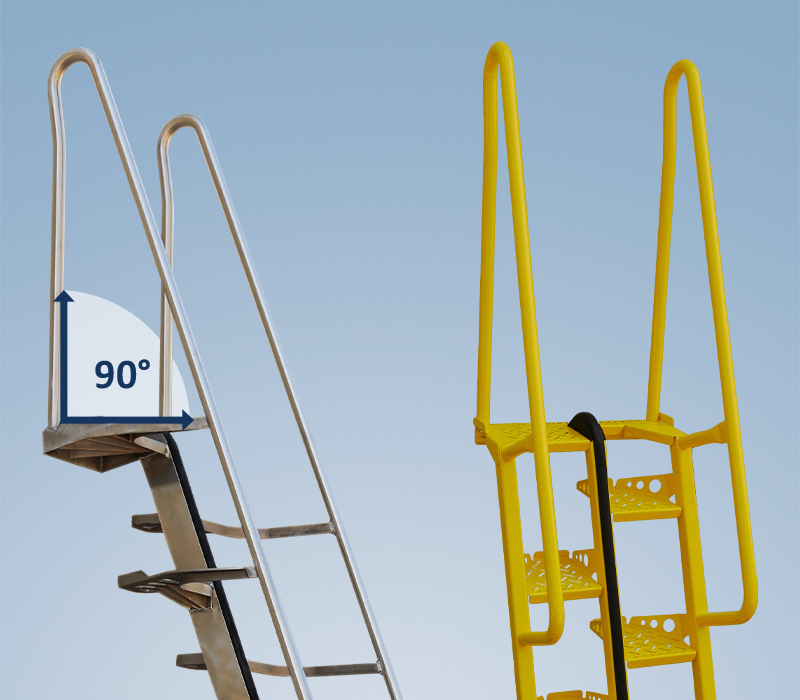
Ensure that the top baluster of the stair is perpendicular to the landing and tighten the baluster bolt to secure the rail into place.
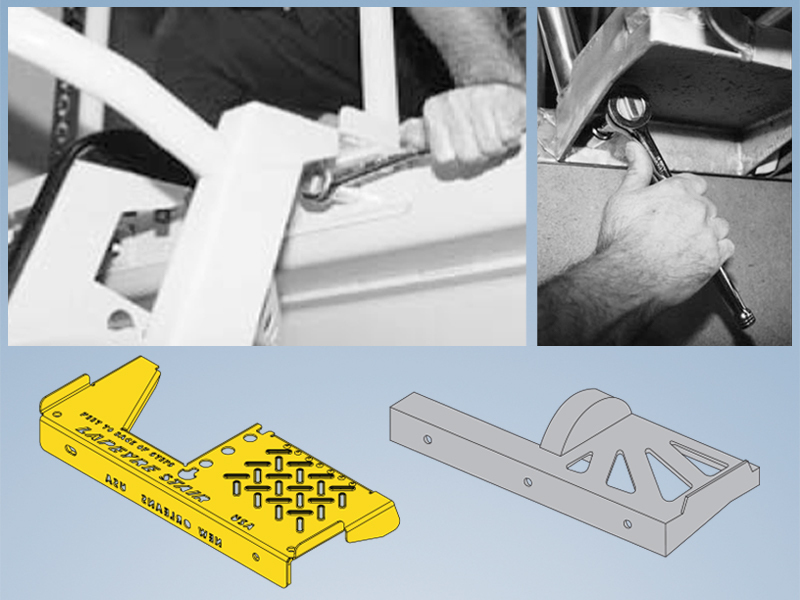
Once secure, tighten all of the bolts to 35 foot pounds.
Install The Stair
Position and secure he top landing and the bottom footing using bolts or studs with a minimum diameter of 1/2". (Installation hardware is not provided.)
Figure 4
Figure 5
Attach The Rubber Bumper
PRIMED STAIRS ONLY
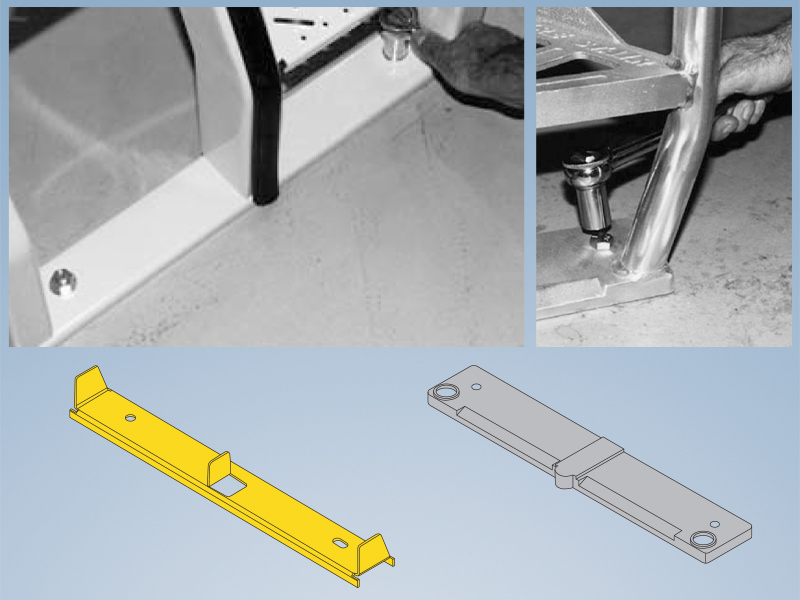
Peel off the backing and press the rubber bumper firmly into place along the center stringer of the stair.
Additional Information Related To Alternating Tread Stair Installations
Handrail Clearance
Alternating tread stairs should be installed with a minimum of 6″ of clearance from the outside of the handrail to any other objects. When installing two alternating tread stairs side-by-side there should be a minimum of 12″ between the handrails of each stair.
Bracing
We recommend bracing alternating tread stairs that are 15 feet or taller to reduce potential swaying and/or vibrations.